Taking interesting pictures at an airshow does not always require expensive SLRs. Last weekend I attended my first airshow ever. 25th Annual Wings Over Houston Airshow at Ellington Airport on Saturday, October 31 and Sunday, November 1 2009. I'd share with you what I learned so far.
All photos were taken with a Sony Cybershot DSC-H2, and I'm describing my experiences specific to this model.
I found these features useful:
Manual focus: Most things happen pretty far from you, so you can safely set focus to infinity and just shoot away without the delay needed by autofocus.
Custom settings memory: Some cameras will allow you to remember your favorite settings. Before the show, I programmed the camera to: zoom at maximum, manual focus set at infinity (see above), continuous drive mode and Aperture was set up to 1/1000 sec.
And thats it after this it was just click click click ...
All photos were taken with a Sony Cybershot DSC-H2, and I'm describing my experiences specific to this model.
I found these features useful:
Manual focus: Most things happen pretty far from you, so you can safely set focus to infinity and just shoot away without the delay needed by autofocus.
Custom settings memory: Some cameras will allow you to remember your favorite settings. Before the show, I programmed the camera to: zoom at maximum, manual focus set at infinity (see above), continuous drive mode and Aperture was set up to 1/1000 sec.
And thats it after this it was just click click click ...
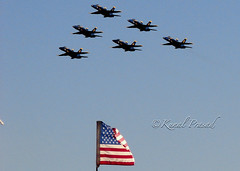

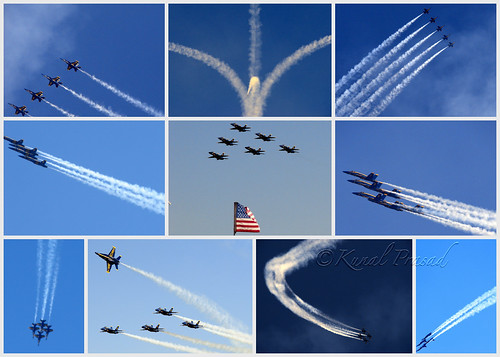
On the picture on right I tried to get US flag to add some flavor to the pic.
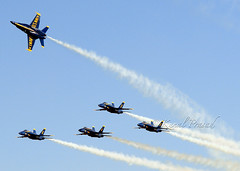

Bright and clear sky added more savor but be prepared for the hot weather. Wear a hat and apply sunblocker on exposed skin. Also, be sure to drink a lot of water to prevent dehydration

I used wide angle option for the photo above; the plane wasn't important, the smoke trail and vastness of the sky were.
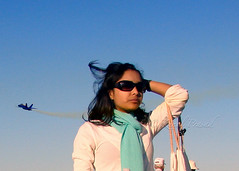

And the audience's reaction was as interesting as the show in the sky.
To know more about this airshow and about Blue Angels you can visit these sites


 The Close-up or Macro mode is used to take close-up pictures of small subjects. The depth of field is very narrow in this case. However if you want the entire subject to be in focus you shuould shoot from directly above or directly below the subject so as the much of the subject as possible is at the same distance from the lens.
 In this mode the camera will set the largest possible aperture to create a narrow depth of field.This throws the back-ground out of focus so that more empasis is placed on the subjects face.
 This mode works on the oppsite way to Portrait.The camera will set the smallest possible aperture to create the widest possible depth of field.This ensures that as much of the scene(and ideally from foreground to background)is in focus.
 The night mode is designed to take portrait photographs in low light.The camera will set a relatively long shutter speed to ensure that the dark background is capturedwhile firing the flash to light and freeze the subject.This is known as "slow sync".You should always make sure that your subject remains still even after the flash has fired as the camera may still be recording.
 In this mode,after the first image is taken the exposure and white balance are "locked" so that all subsequent images have the same colouration,tone, contrast.You then take the next picture and align the image with the previous one, of which about a third appears semi-transparent on the LCD screen.